How to Use Instant Yeast: The Ultimate Guide for Easy Baking
How to Use Instant Yeast: Your Secret Weapon for Effortless Baking
Have you ever been intimidated by baking with yeast? The fear of proofing, the worry of killing the tiny organisms, the waiting… it’s enough to make anyone reach for a box of baking soda instead. But what if we told you there’s a simpler way? Welcome to the world of instant yeast—the modern baker's best-kept secret. This powerful ingredient is designed for convenience and reliability, making homemade bread, pizza dough, and cinnamon rolls more accessible than ever. In this ultimate guide, we’ll demystify how to use instant yeast, show you why it’s superior for most home baking, and walk you through a foolproof recipe to get you started.
What is Instant Yeast? (And How is it Different from Active Dry?)
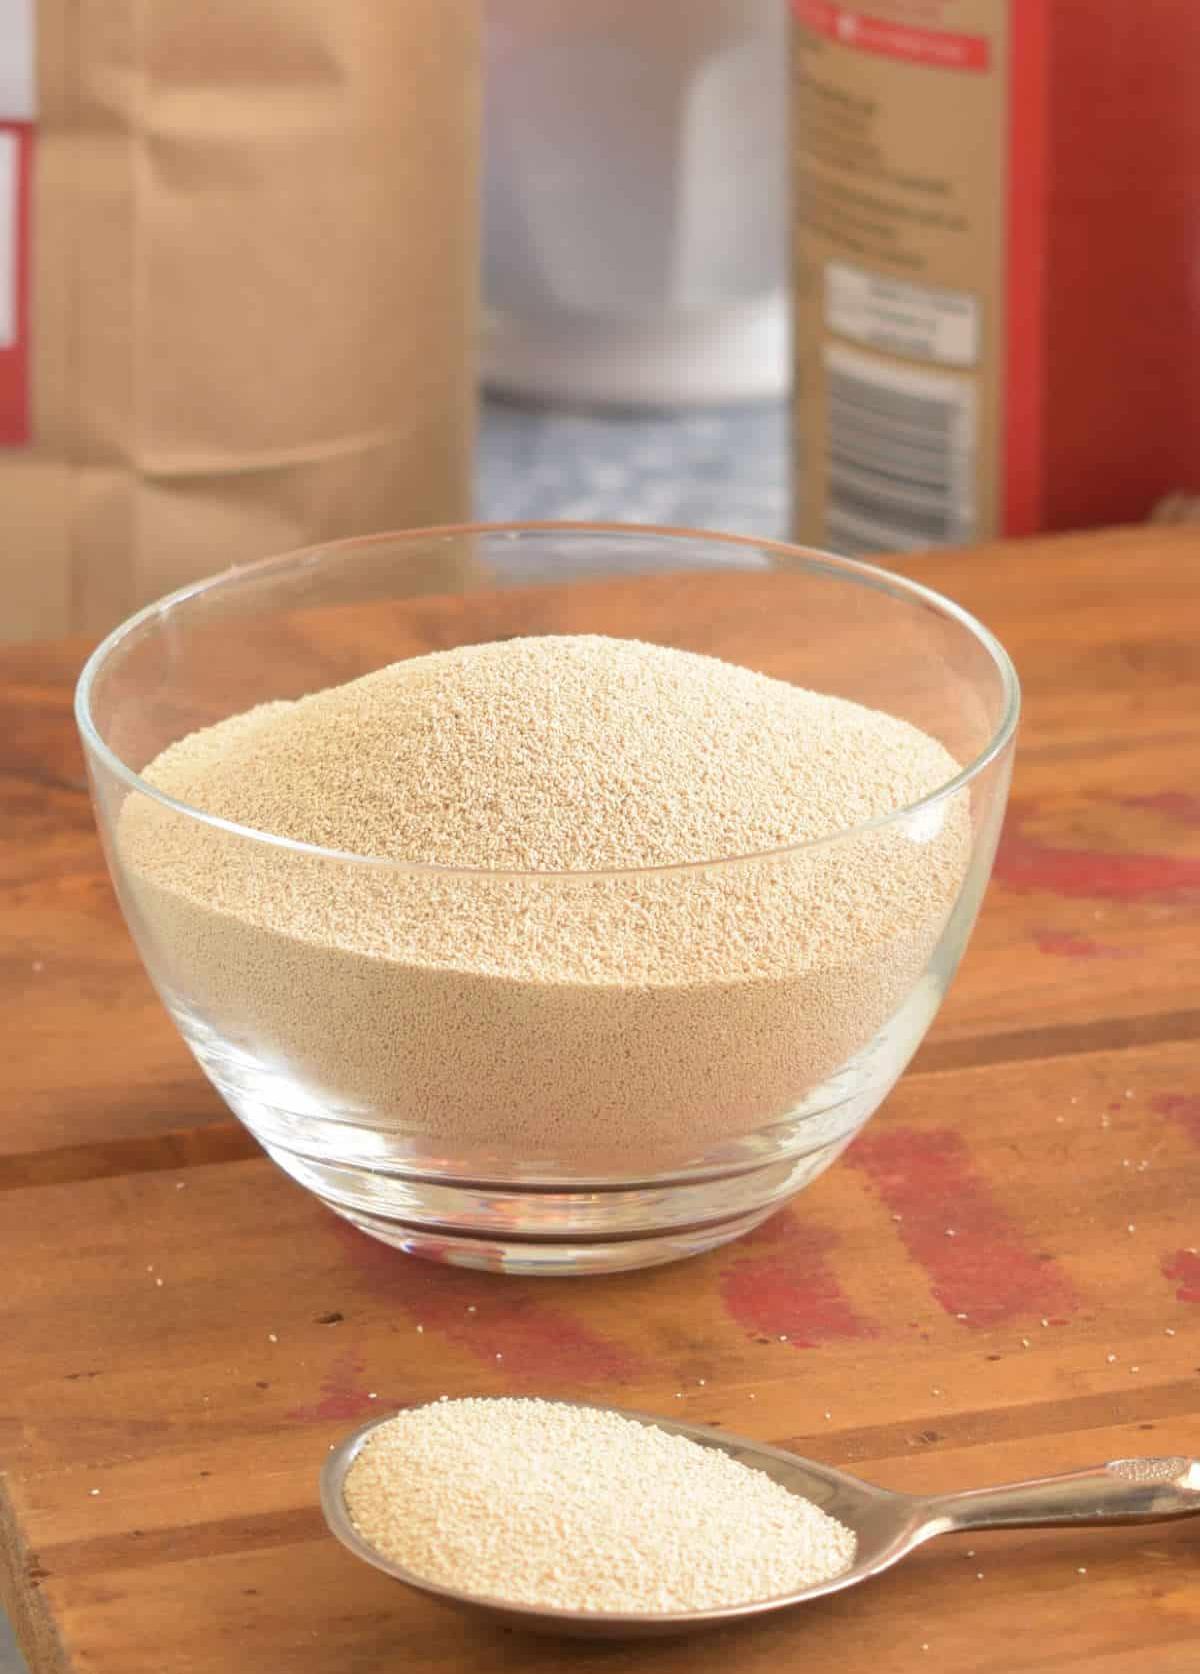
First, let's clear up the confusion. Instant yeast, also known as rapid-rise or quick-rise yeast, is a more finely ground version of yeast than its cousin, active dry yeast.
The key differences are:
No Proofing Required: Unlike active dry yeast, which needs to be dissolved in warm water ("proofed") to activate it, instant yeast can be mixed directly with your dry ingredients. This saves time and simplifies the process.
More Potent: It has smaller granules and a higher percentage of live cells, making it faster-acting and more reliable.
Longer Shelf Life: When stored properly in a cool, dry place (or the freezer), it stays viable for longer.
Pro Tip: While they are interchangeable in most recipes with slight adjustments, instant yeast is our top recommendation for beginners and busy bakers due to its simplicity.
Your Simple Guide on How to Use Instant Yeast
Using instant yeast is incredibly straightforward. Follow these steps for perfect results every time.
Step 1: Check the Expiration Date
Always ensure your yeast is fresh. Old yeast won't provide the rise your dough needs.
Step 2: Mix with Dry Ingredients
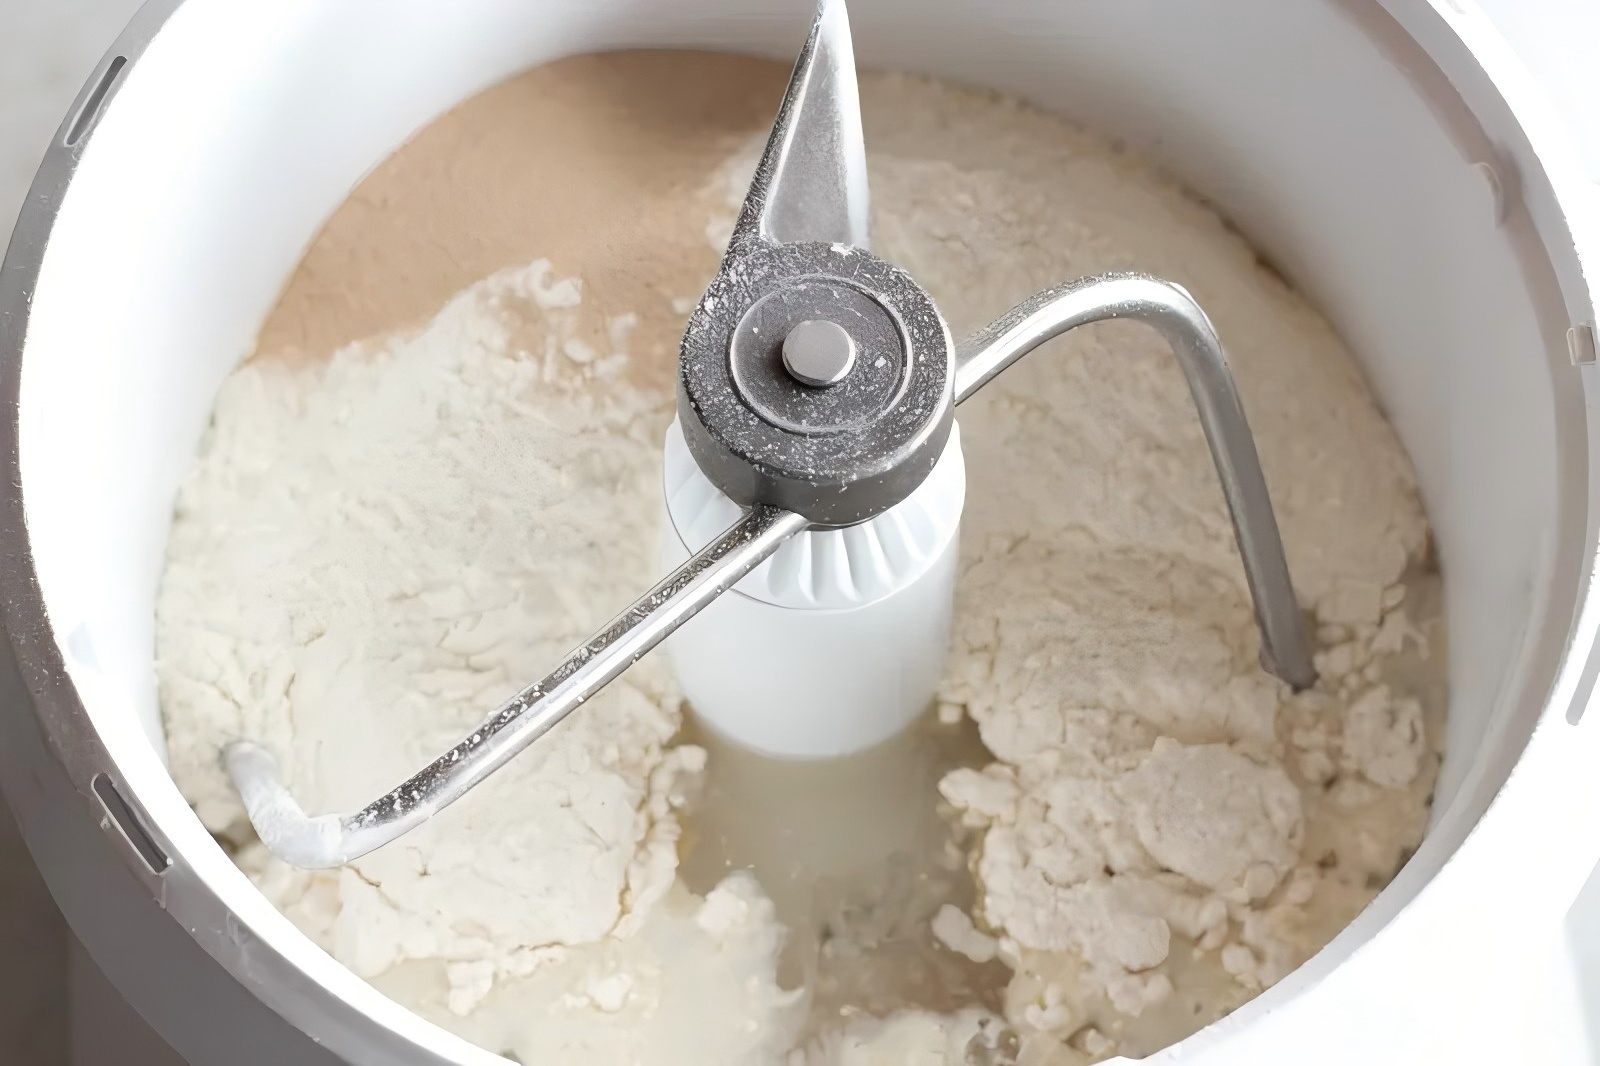
This is the magic! Simply whisk your instant yeast directly into the flour and other dry ingredients. This ensures it's evenly distributed.
Step 3: Add Warm Liquid
While you don't need to proof the yeast, the liquid you add (water, milk) still needs to be warm to activate it. The ideal temperature is between 120°F and 130°F (49°C - 55°C)—warm to the touch but not hot. Water that is too hot will kill the yeast.
Step 4: Knead and Rise
Mix your wet and dry ingredients to form a dough, then knead it. Your dough will then go through its first rise. Thanks to the potency of instant yeast, this rise may be faster than recipes using active dry yeast.
Step 5: Bake to Perfection!
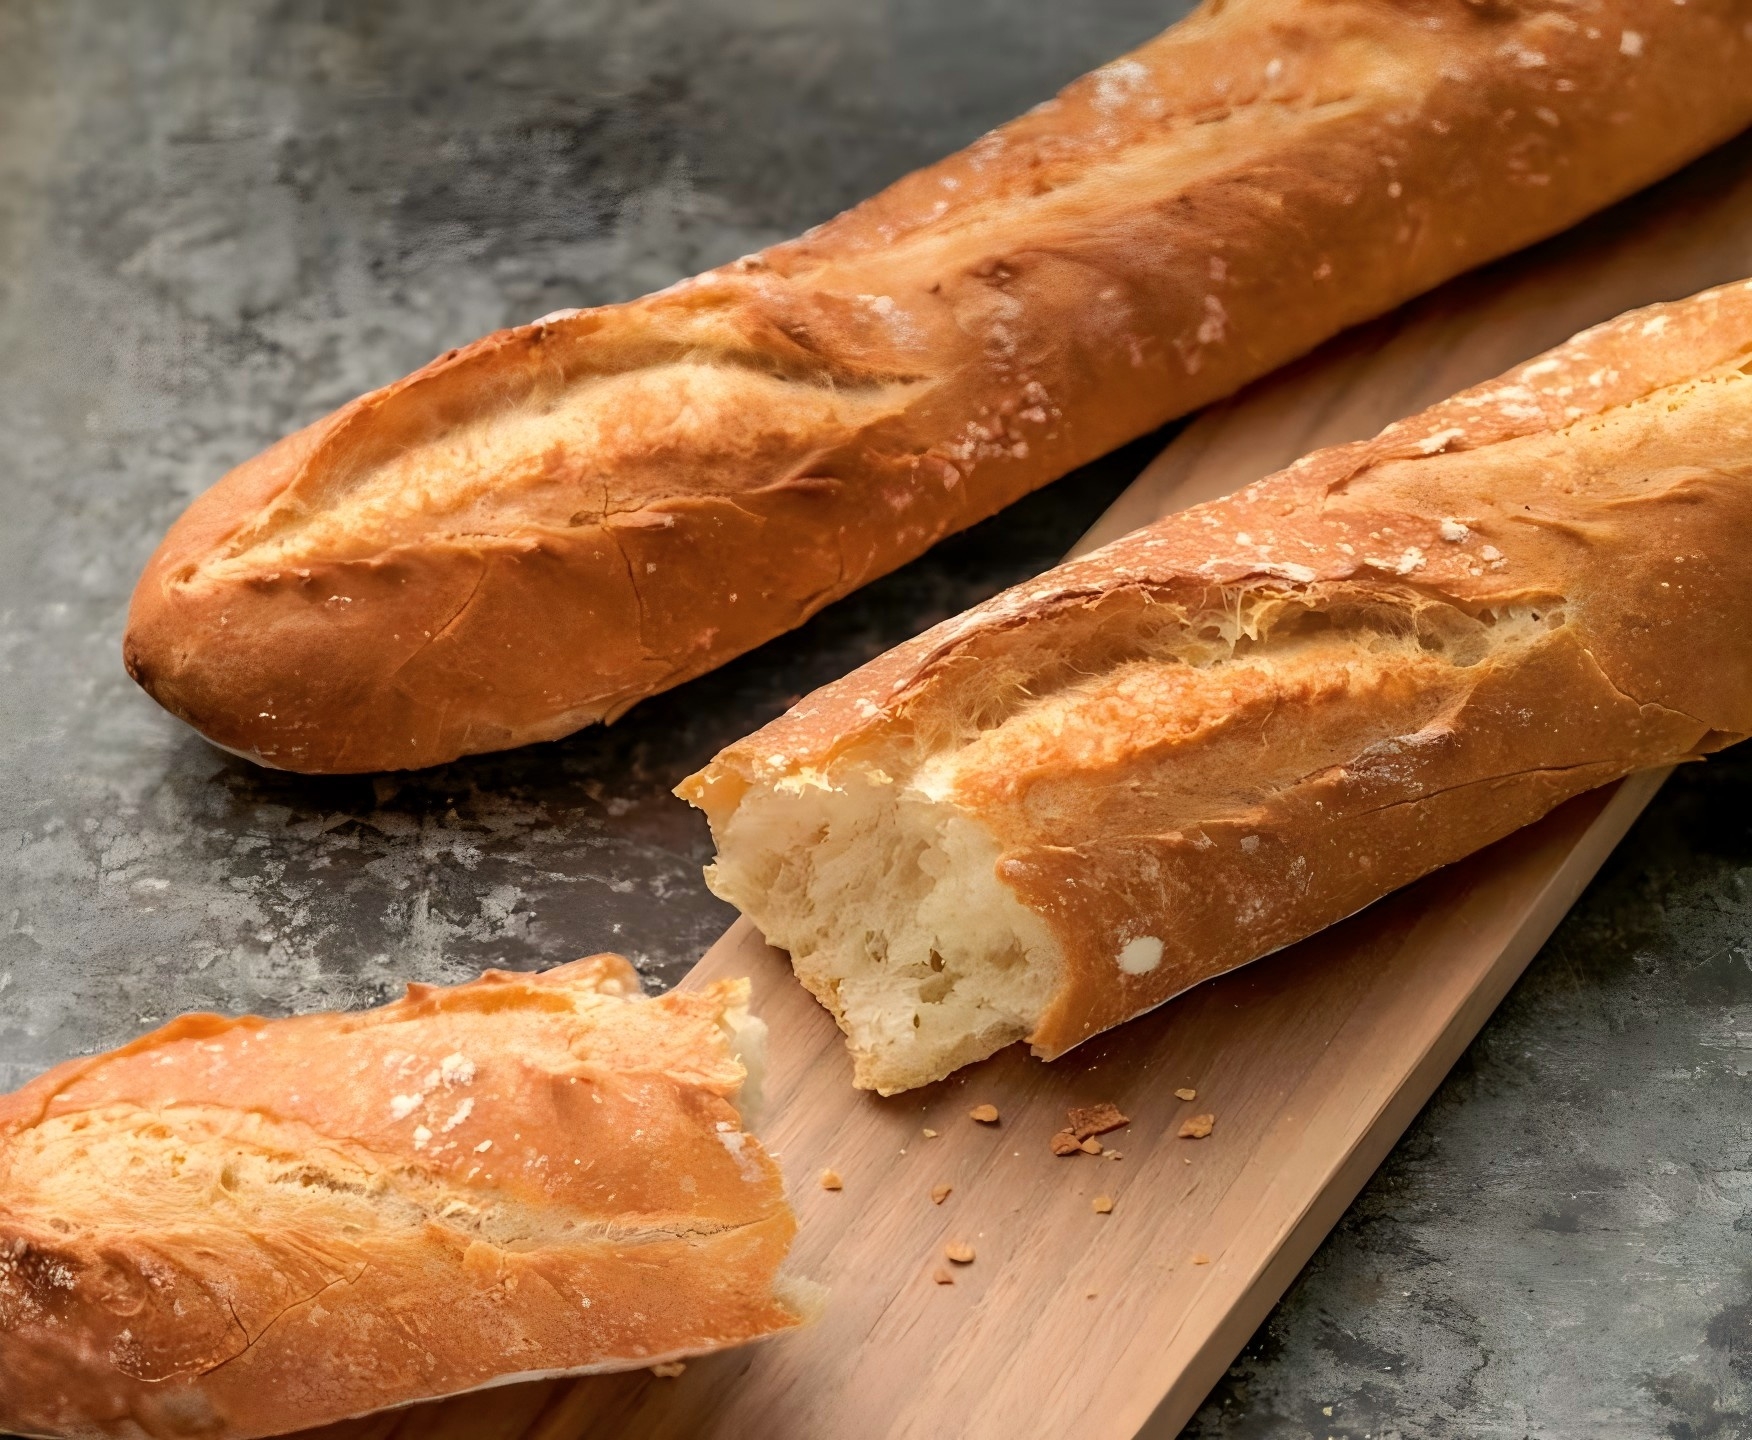
After shaping your dough and allowing it a second rise (if the recipe calls for it), you're ready to bake. The result? A beautifully risen, golden-brown masterpiece.
Common Questions About Using Instant Yeast
Q: Can I substitute instant yeast for active dry yeast?
A: Yes! Use an equal amount of instant yeast for active dry yeast. You can skip the proofing step and add it directly to the flour.
Q: How should I store instant yeast?
A: Keep an unopened jar in a cool, dark place. Once opened, storing it in an airtight container in the refrigerator or freezer will significantly extend its life.
Q: My dough isn't rising. What went wrong?
A: The most common culprits are expired yeast or liquid that was too hot (killing the yeast) or too cold (slowing activation). Always check the yeast's freshness and use a thermometer if unsure about the liquid temperature.
Ready to Bake? Try Our Foolproof No-Knead Bread Recipe
This simple recipe is the perfect way to practice using instant yeast. It requires minimal effort and yields a professional-looking, crusty artisan loaf.
Yield: 1 Loaf
Prep Time: 10 minutes + 12-18 hours rising
Bake Time: 30 minutes
Ingredients:
3 cups (360g) all-purpose flour
1 ½ teaspoons salt
¾ teaspoon instant yeast
1 ½ cups warm water (around 110°F / 43°C)
Instructions:
Mix: In a large bowl, whisk together the flour, salt, and instant yeast. Add the warm water and stir with a wooden spoon until a shaggy, sticky dough forms.
Rise: Cover the bowl tightly with plastic wrap. Let it rest at room temperature for 12 to 18 hours. The dough will be bubbly and doubled in size.
Preheat: Place a Dutch oven with its lid into your oven and preheat to 450°F (230°C).
Shape: Turn the dough onto a floured surface and gently shape it into a ball.
Bake: Carefully remove the hot Dutch oven. Place the dough ball inside (it's okay if it's messy). Cover with the lid and bake for 30 minutes. Then, remove the lid and bake for another 10-15 minutes until the crust is deep golden brown.
Cool: Let the bread cool on a wire rack for at least an hour